Presenting
3.2 - Creating
Activity 1
Create a Presentation

Some version of "Do a PowerPoint on Australia / Lions / Celebrity" has been the go-to ICT lesson for most teachers for far too long. Unfortunately, many fall into the trap of assuming their pupils know how to use PowerPoint without ever having been taught the skills. Focus on teaching new and interesting aspects of the technology and PowerPoint or Google Slides will actually become worthwhile again!
Prepare:
- The focus of the activity is the technology, therefore make sure the pupils have either researched their topic in previous lessons or have clear fact sheets in front of them.
- Create a folder for the pupils to use to save their work.
Activity Tasks:
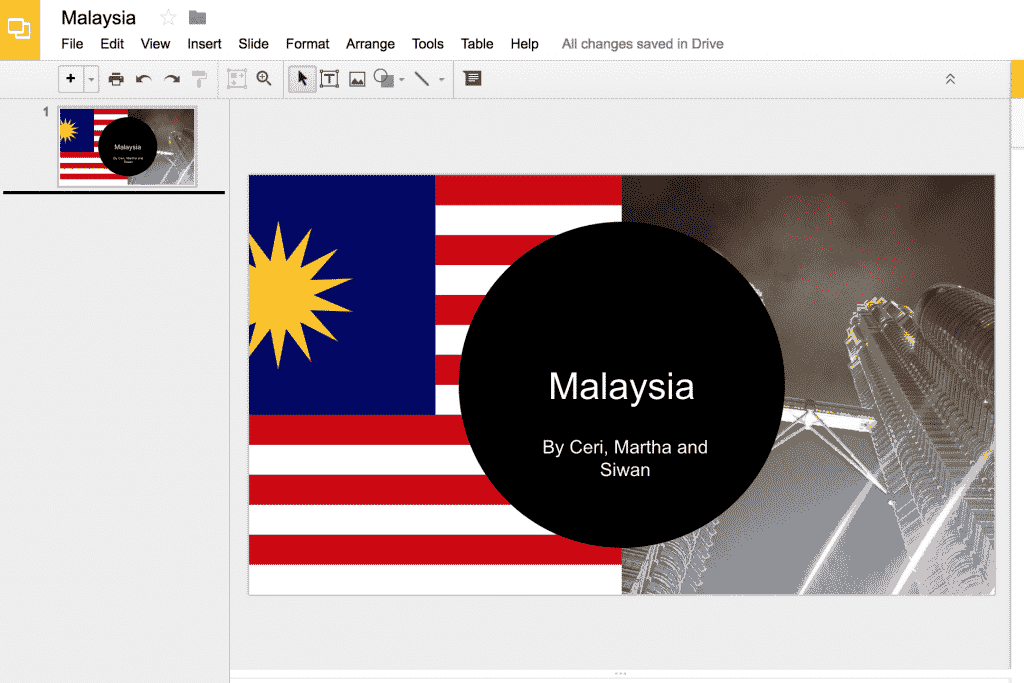
- Begin by showing a model presentation. You should discuss the different types of media (text, images, video, sound).
- Decide as a class what the structure of your presentation will be (e.g. if the topic is Australia, one slide for introduction, one for history, one for food, one for sports etc).
- Discuss the different Presenting software available (PowerPoint, Google Slide, Prezi etc) and how different software may suit different audiences.
- Show them how to add text boxes and an image to their title slide.
- Add, reorganise and delete additional slides, changing background colour and design for different slides.
- Add audio files and videos from the computer (or direct from YouTube in the case of videos).
- Ensure that they get the opportunity to present their final presentation to an audience (even if the audience is just the rest of the class). Presentations are made to be presented!
Remember
- Depending on your pupils' previous experience, you may have them all work on the same presenting software (e.g. PowerPoint) but eventually the aim is for the pupils to have the confidence to choose which presentation software to use.
- Hammer home the message that we don't print everything, only finished work that we want to display. Presentations are primarily there to present, not to print.
- Discuss the difference between saving on the computer (locally) and on the server (network). Maybe even take them to see the school server so they appreciate what it actually is.
Activity 2
Castle Mosaic

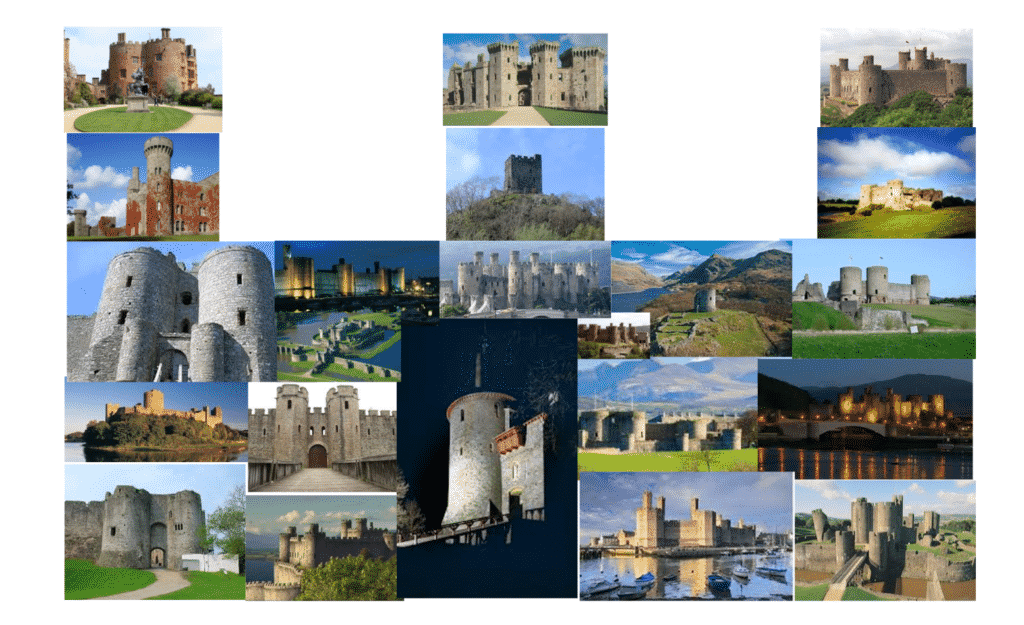
To practice inserting images, resizing and cropping them, this task will have the pupils create a mosaic of a castle, using images of Welsh castles as the building blocks.
Prepare:
- There is no preparation needed for this task. However, it would be useful if the pupils knew the names of some of Wales' many castles.
Activity Tasks:
- Look at some example mosaics of the type they'll be creating.
- Open a publishing programme (Publisher, PowerPoint, Google Slides) and an internet browser (Chrome, Firefox, Edge).
- Search online for images of Welsh castles, copy and paste them into the presentation. They will need a lot of pictures.
- Move, resize and crop images (this must be taught!) to create an image of a castle, made out of all the smaller images.
- Print to the correct printer.
Playing with Images in Google Slides
Remember
- Don't assume they know how to resize without distorting the image (from the corners) and how to crop. Model this and have some confident pupils at the ready to help those who struggle.
- Choosing a printer from which to print is something we have to show the pupils, otherwise they'll never know how to do it.
