Photos and Videos
3.2 - Creating
Activity 1
The Three-Bit Video

The Three-Bit Video is one of the very first activities I would teach in Year 3, as the skills learnt can be used over and over to showcase what they've learnt as the year progresses. It involves creating a video with three short clips dealing with a single topic. For example, they might film three clips discussing their prior-knowledge of a topic, or three clips of something they've learnt during a lesson or perhaps three clips on how their opinion has changed because of what they've learnt.
Prepare:
- The first time you teach this activity, the focus needs to be on the technology skills. Therefore, make sure that the pupils have three simple facts at hand to insert into their video.
- Your school needs a system to get videos off the iPad (or tablet) to save on the server or in the cloud. Common options are Google Drive, J2E or OneDrive.
Activity Tasks:
- In pairs or threes, using the Camera app on the iPad, film three clips. Each clip should be 5-15 seconds in length and consist of a pupil telling a fact about a single topic. Every pupil has to have a turn filming and every pupil must talk on camera.
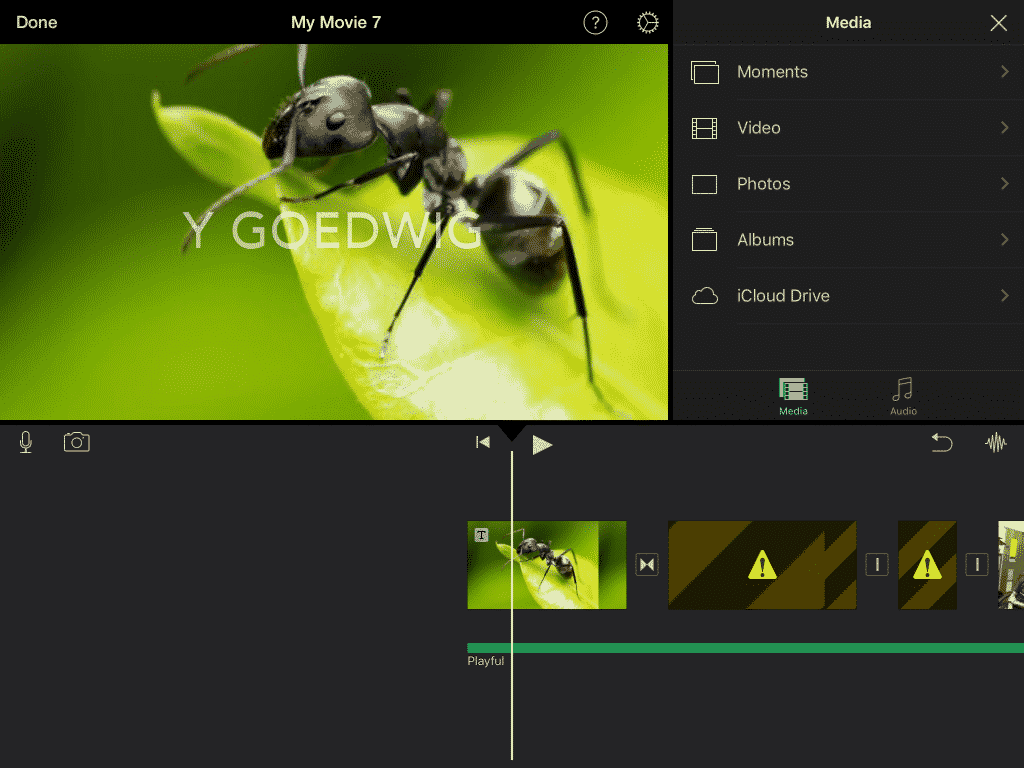
- Begin a new iMovie project, choose Movie, not Trailer, and select the three clips filmed.
- At the start of the project, add a photo of what you're talking about as a cover. This can be taken with a camera or found online and saved to the Camera Roll.
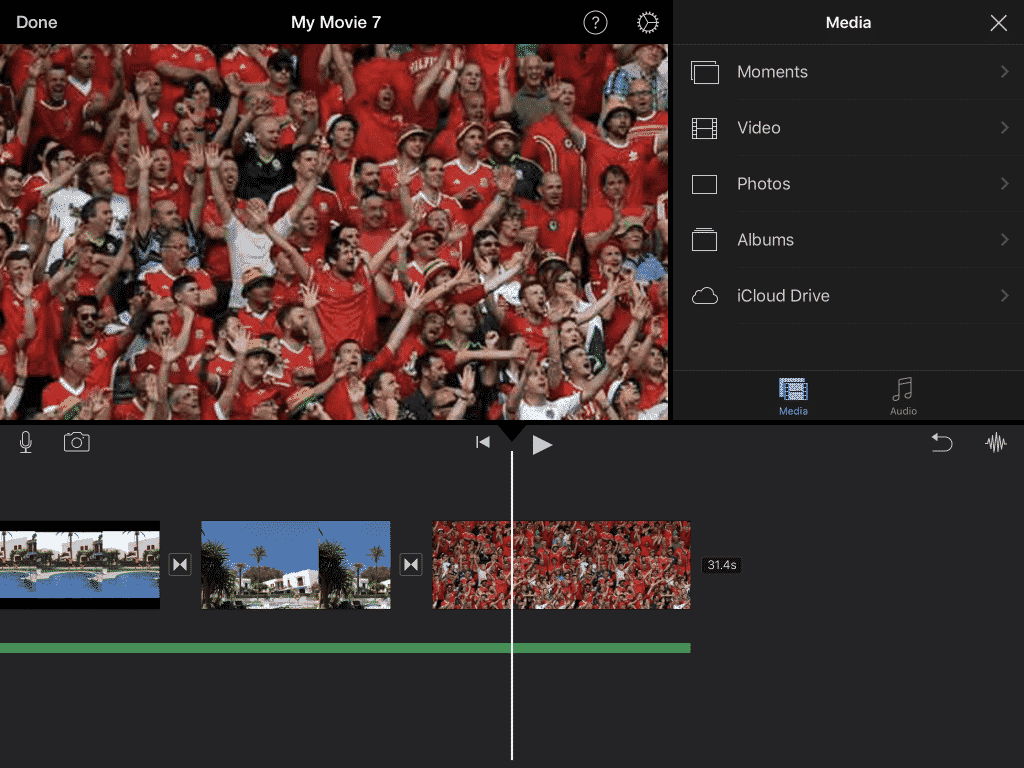
- At the end of the project, use the photo button in iMovie to take a selfie of the children in the group.
- You could add an extra task by asking them to insert text on top of the opening photo as a title, and even add music as background. Alternatively, you could leave this until they're more experienced in creating Three-Bit Videos.
- Export the movie to the Camera Roll.
Remember
- Three all-important videoing rules:
- All videoing must be done holding the iPad sideways (landscape). Teach the children never to film in portrait as such footage only fills a small part of the screen.
- Since iMovie adds transitions between clips, it is good practice to teach the pupils to leave a second between starting filming and talking. Similarly they should add a second between stopping talking and stopping the video.
- Make sure the cameraman stands close to the person talking so as to record his words clearly. iPad microphones are not very strong.
- Save an image from a web search into your camera roll by holding your finger steady on the image and choosing 'Save Image'. This is a vital skill to teach as it's needed for so many iPad based projects.
- You will need to get the videos from the iPad to your school server or cloud account (OneDrive, GoogleDrive). Life will be much easier for you if, over the first term, you train the pupils to do this themselves!
Creating a Three-Bit Movie
Activity 2
Stop Motion Animation
Stop-Motion animation is an activity loved by pupils and one which does not require any complicated technology skills. You can get fantastic results in just a lesson or two.
Prepare:
- Ensure you have a stop motion app installed (Stop Motion Studio and Lego Movie are both recommended, although Lego Movie is no longer in the App Store) and plenty of Lego available.
Activity Tasks:
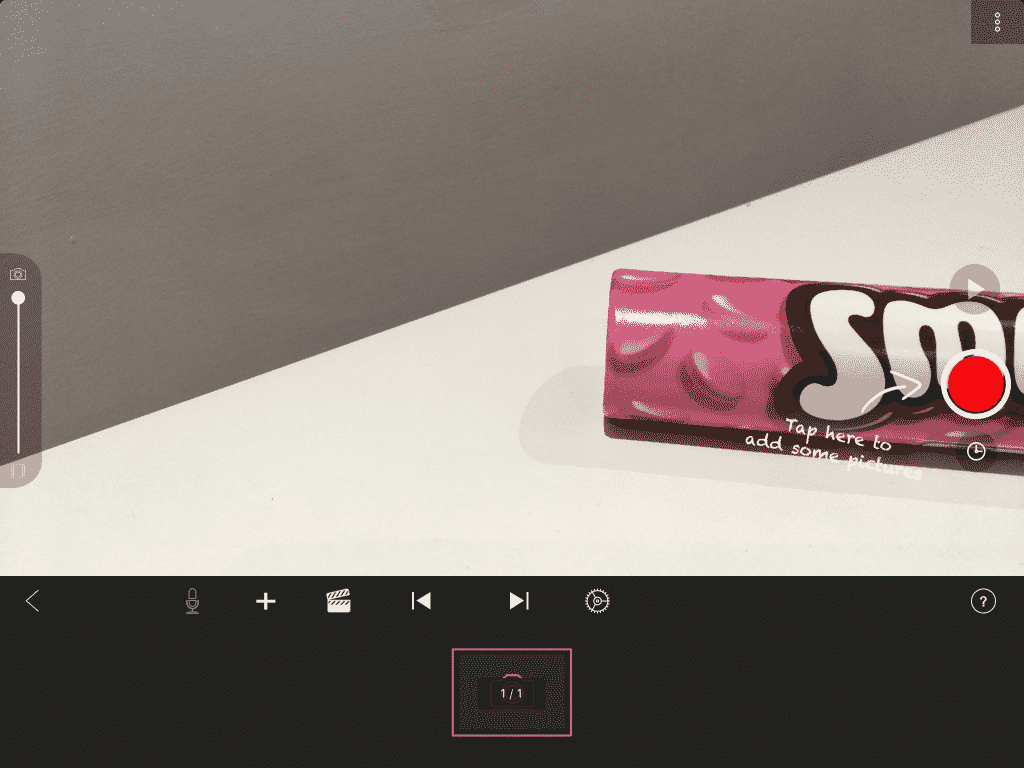
- Open your stop motion app and start a new project.
- Position the iPad sideways (landscape) so that it stays upright. You may need to prop it up against books if you don't have a cover stand.
- Take a photo of your empty build area (floor or table)
- Move the first Lego person or piece slightly into view, take another photo.
- Repeat step 4 over and over, moving a piece or adding another between each photo.
- Once finished, choose the speed you want for the video, then export to Camera Roll.

Stop-Motion Animation with Lego
Remember
- Remind them not to rush. They don't want their hand appearing in a hastily taken photo. Show them how to delete one photo if that does happen.
- On some apps you can add a title, music and a filter.
- You will need to get the videos from the iPad to your school server or cloud account (OneDrive, GoogleDrive). Life will be much easier for you if, over the first term, you train the pupils to do this themselves!
A Video Guide to Stop-Motion on iPads
Activity 3
Video Slideshow

They say that more photographs were taken last year than in the entire history of analogue photography. In school, we teach our pupils to take multiple photos on school trips and during special events.But how should they be presented and displayed? The days of the old photo albums are long gone. An useful multimedia skill is to put the best of those photos into a video slideshow, adding music and titles.
Prepare:
- Have the pupils take a good collection of photographs during a school trip or special event.
Activity Tasks:
- Using the same iPad that the photos were taken on, open iMovie and select all the photos you want in the slideshow.
- Tap on photos and drag the yellow bar to reduce the length of time they'll be on screen.
- Have them experiment with switching the Ken Burns effect on and off. When you tap on a photo, you'll see "Ken Burns Enabled" in bottom right corner.
- Add titles to the first picture and add background music.
- Export to Camera Roll.
Creating a Slideshow in iMovie
Remember
- Always add background music right at the end. This is a good habit to get into because the music will automatically dim behind any sound on the video.
- You will need to get the videos from the iPad to your school server or cloud account (OneDrive, GoogleDrive). Life will be much easier for you if, over the first term, you train the pupils to do this themselves!
