Presenting
3.2 - Creating
Activity 1
Team Presenting

Your pupils, by now, should have considerable experience in creating presentations using one or two software (e.g. PowerPoint, Google Slides). It's likely that they will also be relatively comfortable with collaboration tools within those presentation software. This activity is mainly focused on adding new presenting skills to their repertoire, but it's also a great opportunity to practice their collaboration.
Note: This activity follows on from the presentation activities in Years 3 and 4. If your pupils weren't taught those activities in Years 3 and 4, you may want to start there.
Prepare:
- The focus of this activity is on the technology skills, therefore make sure the pupils have either researched their topic in previous lessons or have clear fact sheets in front of them.
- Watch the video below to familiarise yourself with the skills
Activity Tasks:
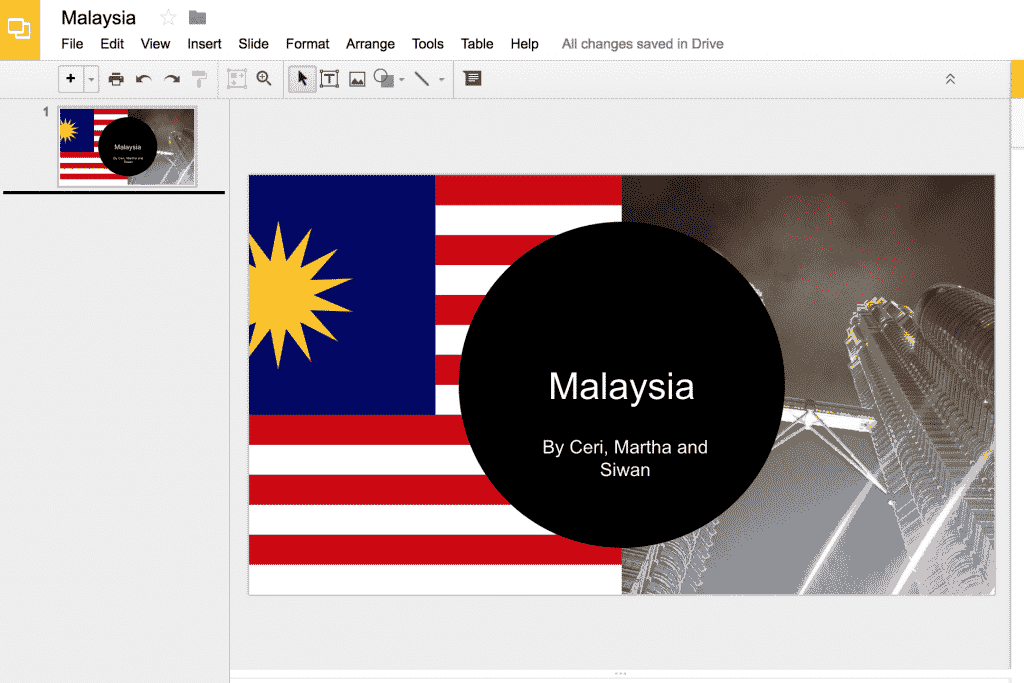
- Begin by showing a model presentation on your topic. (For this example we will use 'Countries' as a topic, but it can be anything.) The presentation should be split into multiple sections (e.g. 10 slides in total; a title page, 3 slides on one aspect of the topic, 3 on a second aspect and 3 on a third).
- Explain that the pupils will be working together in groups to create similar presentations. Remind them that there are a number of presentation software (e.g. Google Slides, Keynote, PowerPoint, Prezi) but that for this activity you will all be using the same one (preferably Google Slides, Keynote or Powerpoint).
- Discuss the possible 'sections' you could use to portray a country (e.g. geography, people, culture, food, sport, fashion), then ask them to decide which three sections they will use in their presentation.
- In their groups, pupils should map out their 10 slides, deciding what the three main sections will be and what title they will give each slide within those sections.(e.g. within the geography section there might be a slide on the location of the country, a slide on the most important cities and regions and a slide on notable mountains and rivers). They should map out their plan as a flow chart.
- Discuss the importance of picking a colour design that is relevant to their topic. For countries, this may involve using the country's colours as background and font colour.
- Show them how to create links from one slide to the next, so that you can advance by clicking on an arrow or button on the slides. Give them an opportunity to practise this skill.
- Remind them how to animate objects (e.g. have a picture fly in or appear) and show them any other transition settings on your software of choice (e.g. on Google Slides you can speed up or slow down the animation).
- Pupils should now create their presentation according to their plan, with each group member focusing on one section. They should not be working as a group from a single computer - this usually results in one person doing the majority of the work. If you and the pupils are familiar with the collaborative aspects of Google Slides or PowerPoint 365 then this is a great opportunity to use them. If not, have them create separate presentations on separate computers (i.e. each do three slides each, then open up the work on one computer and merge them by copying and pasting).
- Make sure they regularly look at their group members's work and offer constructive comments.
- Once complete, pupils need to present to the class. Stress the importance of not merely reading the slides, they should add to what's written on them and be ready to answer questions. Ensure that another pupil films their presentation so that the group can later watch and self-assess.
Transitions, Animations and Links in Google Slides
Remember
- Hammer home the message that we don't print everything, only finished work that we want to display. Presentations are primarily there to present, not to print.
Activity 2
Presentation Selection
One important aspect of gaining confidence in technology is to do similar tasks using different software. For example, a presentation can be done in PowerPoint, Google Slides, Keynote, Prezi or using one of a number of other software. The majority of skills are transferrable (i.e. once you can create a transition in one, it's not too hard to do the same in the others). This activity is an opportunity for pupils to choose how to create their presentation.

Prepare:
- The focus of this activity is on the technology skills, therefore make sure the pupils have a clear fact sheets on the topic of their presentation.
Activity Tasks:
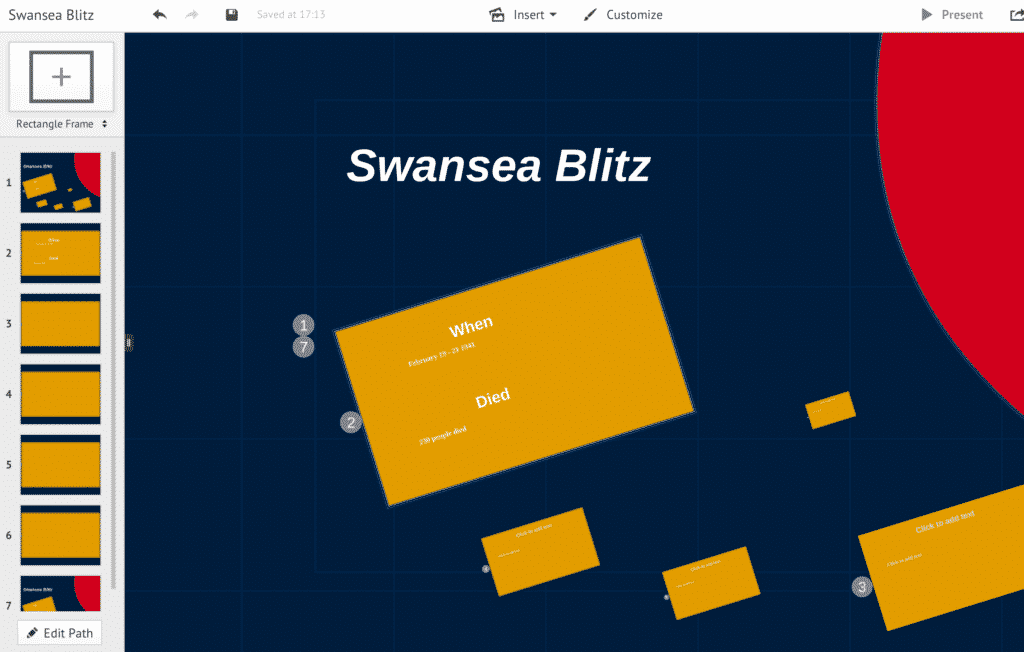
- Remind pupils of all the different types of presenting software they may have experienced (e.g. Google Slides, Keynote, PowerPoint). Perhaps you can also throw in a software with which they are not so familiar (e.g. Prezi).
- Give them a set of facts on a particular topic.
- Ask them to make a presentation using those facts on any of those softwares, and let them know that another class will vote on their favourite.
- This challenge is all about design and making their presentation look attractive. More confident pupils may choose to use the more unusual software so as to stand out.
- Choose the 3 or 4 best designed presentations and have the class next door vote on which they prefer.
